views the best pictures
Did you watch the Great British Food Revival last week? I missed most of Michel Roux junior doing his thing for strawberries, but I did catch James Martin championing watercress. I love watercress. We live on the edge of watercress country in North Hampshire – if you saw the programme, the watercress producer Mr Martin visited is but a few miles down the road. Watercress is a big feature of local farmers’ markets, and every year, the lovely little town of Arlesford hosts a watercress festival. Watercress is healthy (really healthy – it’s classed as a superfood) but for me it’s all about the peppery taste. It’s great in soup, sandwiches (I am quite partial to watercress and crunchy peanut butter – honestly, it’s lovely), and a host of other dishes, but I am not here today to give you any recipes. If you want some watercress recipes, you can visit the watercress website Instead, enthused by Mr Martin, and in the wake of some advice gleaned from Gardeners’ Question Time, I am here to report on growing our own watercress.
Years ago, unencumbered by children, the Husband and I often found ourselves driving places on a Sunday afternoon. Feeling hungover tired and jaded, we would tune in to the soothing tones of Radio 4 and it became a standing joke that if we were driving anywhere on a Sunday it would always be around the time of Gardeners’ Question Time. How times have changed. We now tune in specifically to listen to the undemanding repartee, the slightly pleased with itself advice, the soothing responses to queries about leaf mould, blight, and what to grow in a bed with poor soil against a north facing wall…
The other week, one of the questions on GQT (as it's known) related to the wisdom of converting a garden to veg cultivation as a means of beating the recession. One of the panellists suggested growing watercress and we thought we’d give it a go. It gives me great pleasure to have salad leaves growing in the garden – rocket in particular, so expensive in those packs from the supermarket. If we succeed with the watercress, I will be equally thrilled.
I should point out that it is in fact the Husband who has the green fingers in our house, and it is his efforts that I am now reporting back.
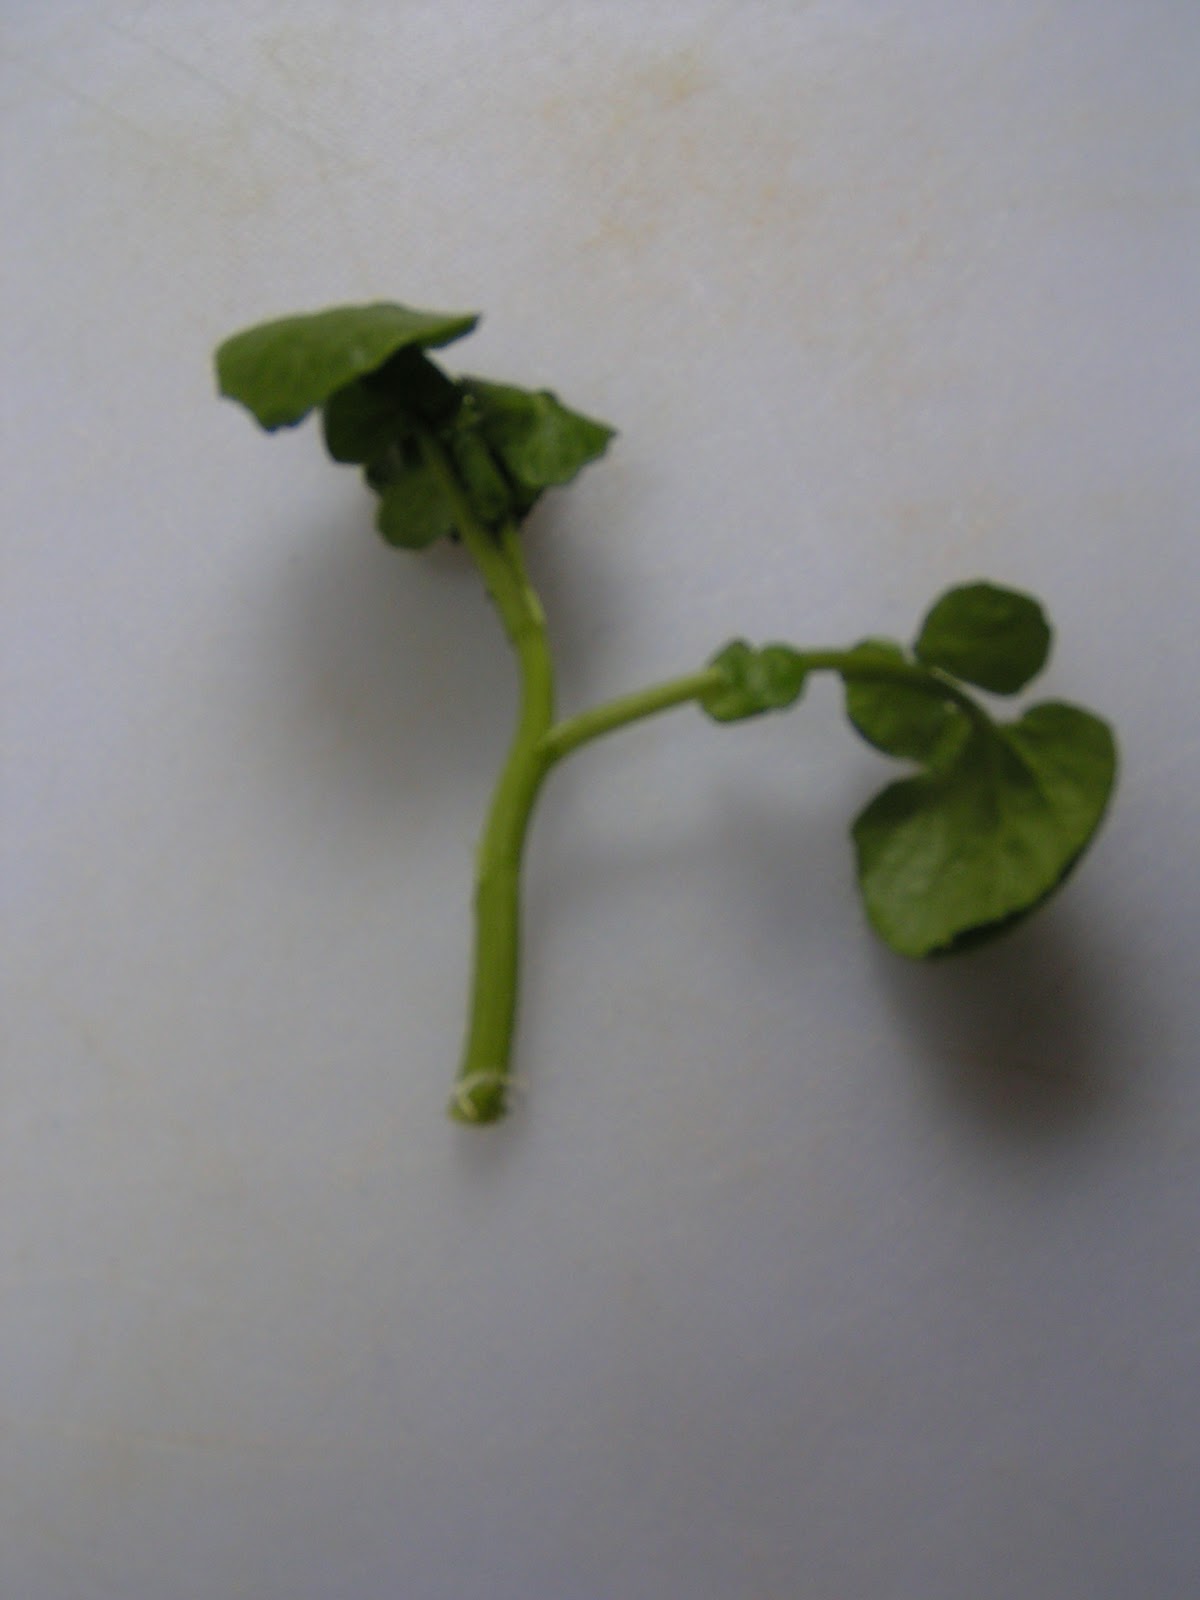
1. Take a couple of sprigs of watercress from a pack and trim leaves off the stalk, leaving some leaves at the top. We used organic watercress as it won’t have been treated with anything.
 |
| a delicious sprig of organic watercress* |
 |
| bottom stalks removed |
2. Fill a jam jar with water, make a ‘lid’ out of a piece of clingfilm or plastic bag for the jar and put a couple of holes in the top. Attach the lid to the top of the jam jar using an elastic band and pop the watercress sprigs through the holes, and leave on a window sill.
3. Within a couple of days, you should be able to see little white roots growing from the places where you took off the leaves from the stalk. Quite quickly, these will be long and vigorous and filling the jam jar. At this point you need to pot the plants up into soil.
 | |
| check out the little roots - you can just see them |
 |
| rooted sprigs, potted up and looking good |
Now obviously, in my enthusiasm to blog about this, I can’t yet tell you whether or not it will be a success. What I can tell you is that the Husband has 2 pots each with 2 plants that have been rooted in this way, and looking healthy, with another couple of sprigs on the way (see photo above). He's advised me to tell you all that they need lots of water, and if your pots have holes in them, then you should line them first with a plastic bag to ensure that they retain water rather than it leaching out.
I’d love to hear from anyone else who grows their own watercress, with any tips for successful cultivation – and of course, your favourite watercress recipes. Obviously, once we have our own abundant supply, I’ll be reciprocating…
I’d love to hear from anyone else who grows their own watercress, with any tips for successful cultivation – and of course, your favourite watercress recipes. Obviously, once we have our own abundant supply, I’ll be reciprocating…
*quite a lot of watercress was consumed in the preparation of this post...
No comments:
Post a Comment